Choosing the right domain name is crucial in building your online presence. Whether launching a personal blog, starting a business, or expanding your digital footprint, securing a domain is the first step to making your website accessible. Namecheap.com is one of the most popular domain registrars, known for its affordability and ease of use. In this guide, we’ll walk you through the simple process of purchasing a domain through Namecheap.
Step 1: Visit Namecheap.com
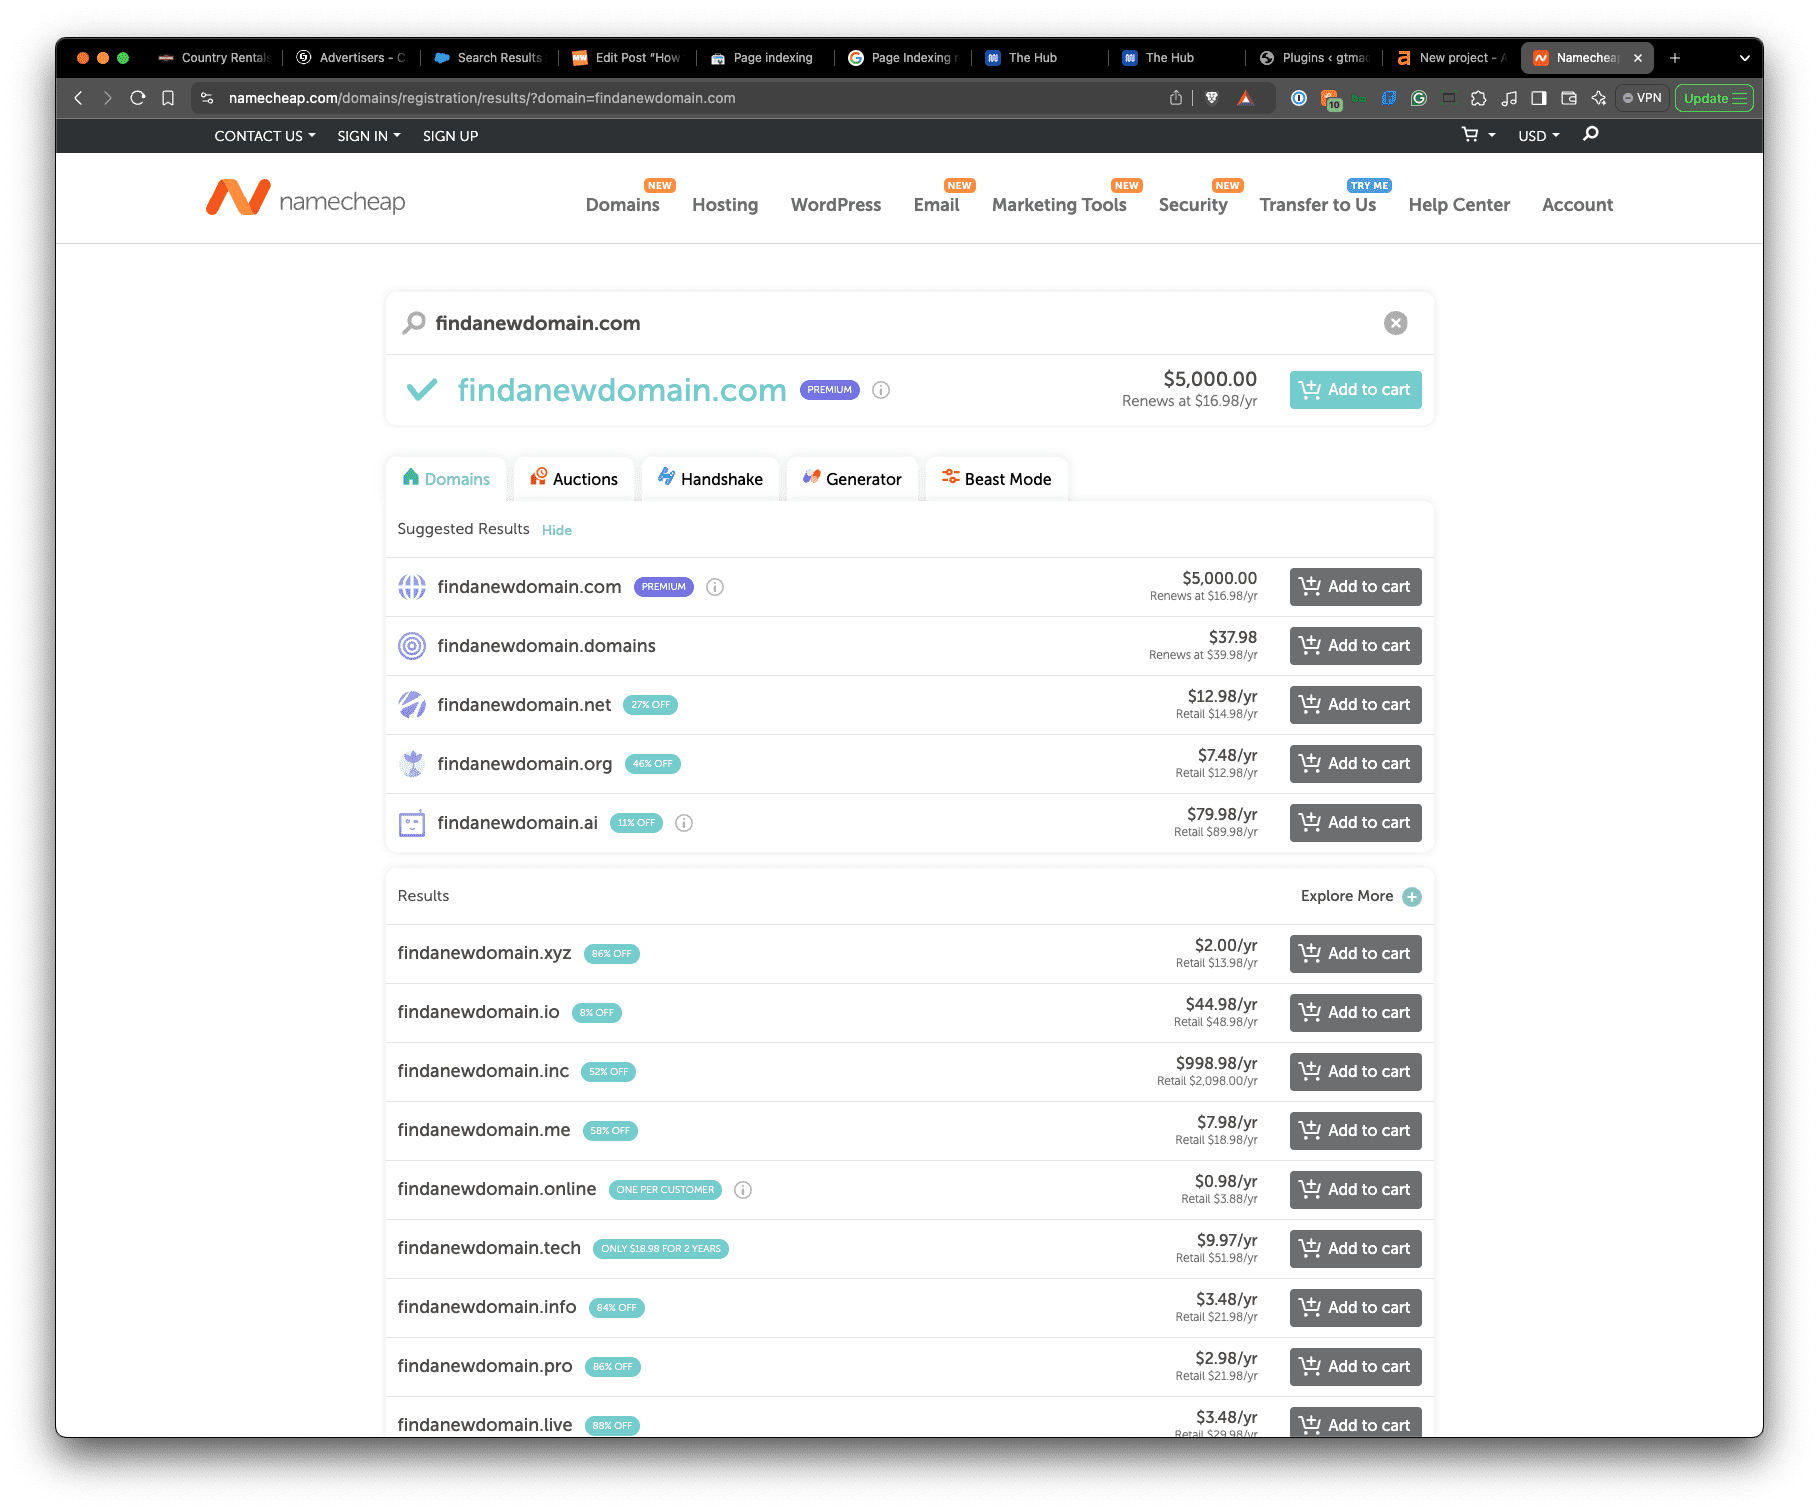
Start by navigating to Namecheap.com in your web browser. The homepage will immediately present you with a search bar where you can check the availability of your desired domain name.
Step 2: Search for Your Domain Name
Type your desired domain name into the search bar and hit enter. Namecheap will provide a list of available domain names and various domain extensions (like .com, .net, .org, etc.). If your first choice isn’t available, don’t worry! Namecheap will suggest similar domain names that might fit your needs.
Step 3: Choose Your Domain
Once you’ve found an available domain name that you like, click the “Add to Cart” button next to it. If you want to secure several domain names at once, you can add multiple domains to your cart.
Step 4: Review Your Cart
After adding your desired domain(s) to your cart, click on the cart icon in the top right corner of the page to review your selections. Here, you can choose the registration period for your domain—typically from 1 to 10 years. Namecheap provides services like domain privacy protection (to keep your personal information private) and premium DNS (for better website performance).
Step 5: Create a Namecheap Account
If you’re a new customer, you must create an account with Namecheap. Click on the “Create Account” button and fill in your details. If you already have an account, log in.
Step 6: Complete Your Purchase
After selecting your domain(s) and services and setting up your account, click on the “Confirm Order” button. You’ll be prompted to enter your payment information. Namecheap accepts various payment methods, including credit cards, PayPal, and cryptocurrency.
Once your payment is processed, you’ll receive a confirmation email from Namecheap with all the details of your purchase.
Step 7: Manage Your Domain
After purchasing your domain, you can manage it from your Namecheap account dashboard. Here, you can adjust domain settings, renew your domain registration, and add services like email hosting.
Tips for Choosing the Perfect Domain Name
- Keep it short and simple. A shorter, easier-to-remember domain is more likely to stay in visitors’ minds.
- Avoid numbers and hyphens: These can make it harder for people to remember and type your domain.
- Choose a popular extension: If possible, choose a .com domain, as it is the most recognized and trusted.
- Make it brandable: Your domain name should reflect your brand and be unique enough to stand out.
Conclusion
Purchasing a domain through Namecheap.com is straightforward and anyone can do it, regardless of technical expertise. By following these steps, your domain will be registered quickly, setting the foundation for your online presence. Happy domain hunting!


0 Comments